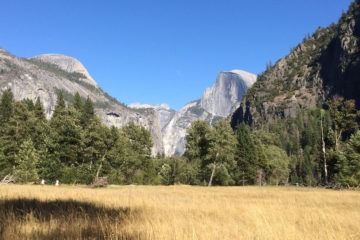
Winter can transform the Sierra into a wildly different place. Snow muffles sound and turns familiar landscapes into soft sculpture gardens. Trails vanish. Many animals disappear from view, either curling up in dens, taking up residence under the snowpack or heading south for the season. In Yosemite, as snow closes roads and trails but reawakens long-dry waterfalls, crowds thin from their summer peaks, leaving the park relatively quiet.
Experiencing Yosemite in winter can be a mesmerizing, memorable experience. Ready to go? Before you zip up your parka, lace up your boots and pull on your gloves, be sure to familiarize yourself with one of the most essential cold-weather accessories: stewardship skills!
Brushing up on year-round and season-specific no-trace tips will help you limit your impact – and stay safe – when temperatures and snow start falling.
Do your homework. Thorough planning is always an important first step in a Yosemite adventure. Snow and ice, limited daylight, cold temperatures and quickly changing conditions can complicate what might seem like a short, simple itinerary. No matter where you’re headed, take time to familiarize yourself with your route, monitor weather and avalanche conditions, and talk to a ranger about what to expect.
 As you plan, be realistic about your personal limits. A backpacking trip you took in fairer weather might not be feasible in the winter, especially if you have limited experience with snow travel. If you’re heading into the backcountry between December and April, you’ll likely need skis or snowshoes, and will have to chart your own course, since most trail markers will be buried in snow. To stay safe, you’ll need advanced backcountry skills, appropriate gear, and training in avalanche awareness and survival. (If you want to pick up or polish up winter survival skills, many outdoor-oriented organizations and companies offer avalanche courses and other trainings.)
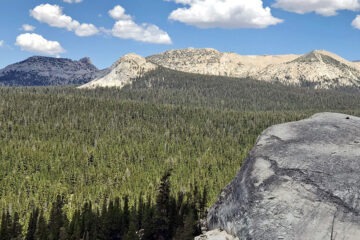
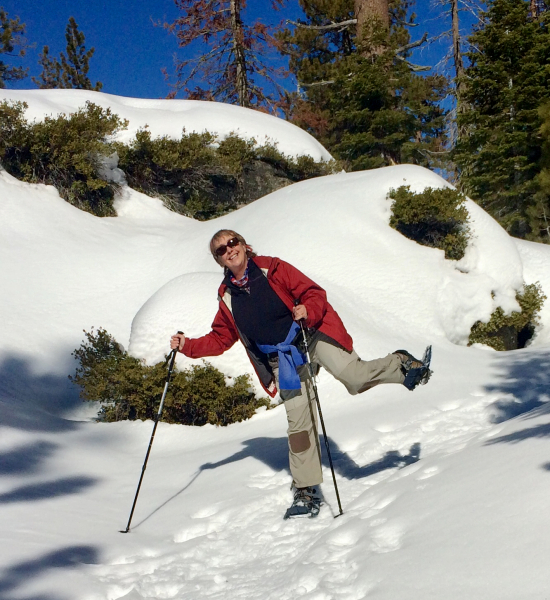
That said, you don’t have to venture deep into the backcountry to experience winter magic in the park. Enjoy views of snow-dusted granite from the Valley floor, and try out the ski and snowshoe trails around the Badger Pass Ski Area, along Glacier Point Road, in the park’s giant sequoia groves, and around Crane Flat.
Find your way, safely. Snow can make any trail – even one you’ve hiked many times – tricky or impossible to follow. Fresh snow can obscure other people’s tracks, and your own, making it hard to retrace your steps if needed. Bring a map and compass, and know how to use them (GPS devices don’t always work). If you’re not comfortable navigating, stick to relatively snow-free, clearly marked, trails, like those in the Valley or at Hetch Hetchy.
No matter where you go, hike and camp on durable surfaces, such as existing trails and campsites, exposed rock or other hard ground. In winter, deep snow can serve as a durable surface, too – that means more potential backcountry camping spots – but you still need to pitch your tent (or sculpt your snow shelter) at least 100 feet from trails and water sources, and at least a mile from plowed roads. If you’re in a snow-free area, or if the flakes have only piled up a few inches, stick to designated trails and hard surfaces to avoid trampling vegetation or inadvertently carving out informal paths.
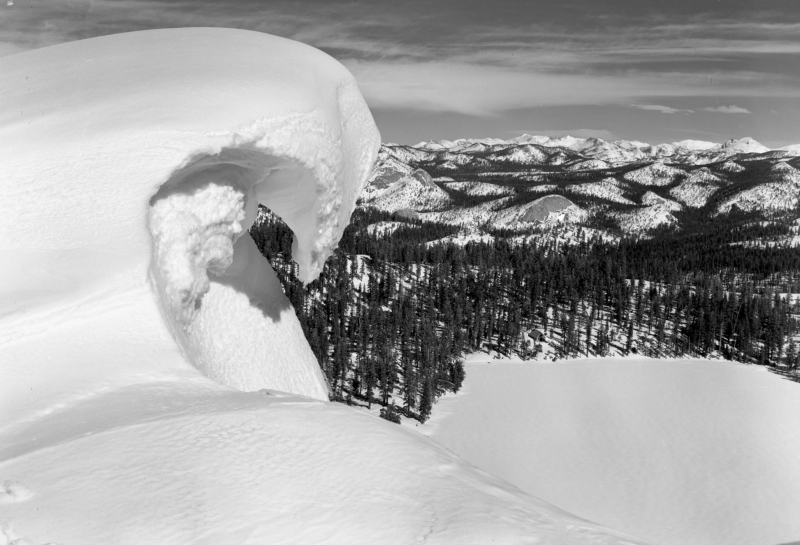
Pay attention. While you move through the winter landscape, stay aware of your surroundings. Snow and ice can create a variety of hazards, including slippery surfaces, broken branches and falling trees, avalanche-prone slopes and false ledges. As at any time of year, heed trail closures and other park regulations – they’re instituted for a reason! Even if a trail is open, leave yourself plenty of time to complete the hike, and turn back if the terrain gets dicey.
Keep tabs on how you’re feeling, too. Are you starting to sweat from working hard on your skis or snowshoes? Peel off a layer before your clothes get damp. (In general, try to keep your clothes as dry as possible, to avoid hypothermia.) Are your hands starting to get cold? Warm them up before they go numb (armpits are a great natural furnace). Has it been a while since your last water or snack break? Stop to rehydrate and refuel – your body needs energy to keep moving and stay warm.
Pack it in … As in any season, carry the “10 essentials”:
- Navigation tools (map, compass, GPS, smartphone with downloaded, offline maps).
- Sun protection. It might be chilly, but you still need sunglasses and sunscreen to protect your eyes and skin! Don’t forget parts of your body that face the ground: Lather sunblock on the underside of your chin and nose to guard against UV rays reflected off snow and ice.
- Insulating layers. Layering is especially important in cold weather. You might not think of overheating as a problem when you’re trekking through snow, but sweating through clothes can be dangerous.When packing for winter, include top and bottom layers that will keep you warm and dry, plus a hat, gloves, and a waterproof jacket or shell. Aim for wool, polyester or other moisture-wicking, quick-drying materials, if possible; cotton absorbs water and can take a long time to dry.
- Light source (flashlight or headlamp, plus extra batteries).
- First aid kit.
- Plenty of food, including enough snacks to get you through an extra day in case your plans change unexpectedly.
- Plenty of water, plus water filtration or treatment supplies.
- Emergency shelter, such as a tent, tarp or bivy sack.
- Basic repair tools (duct tape, knife, screwdriver, scissors).
- Waterproof matches or lighter.
… and pack it out. Don’t stash your trash in a snowbank – it will still be there when the snow melts. As always, carry out any litter, food scraps, or other odds and ends that you brought with you. To dispose of human waste in the Yosemite Wilderness, you should bury it at least six inches in the ground – that means digging down through the snow (which might be several feet deep), and then digging another half foot into the earth. Too much work? Pack out your poop! Pick up a WAG (Waste Alleviation and Gelling) Bag or other disposal kit to pack out personal waste in a safe and sanitary way.
Respect park rules … including those related to campfires. If you’re in the backcountry, remember that most established fire rings will be buried, so bring a stove and fuel. (Stoves come in handy for melting snow into water, too!)
 If you’re in a lower-elevation campground, feel free to warm up around a campfire at your site, but put it out completely before you leave or go to sleep.
… and your fellow travelers. Heading out for a winter trek, skate or glide? Do your best to stick to your own side of the (ski or snowshoe) tracks, and yield to skiers heading downhill, to avoid crashes. (In general, if you’re hiking, yield to fellow hikers who are heading uphill.)
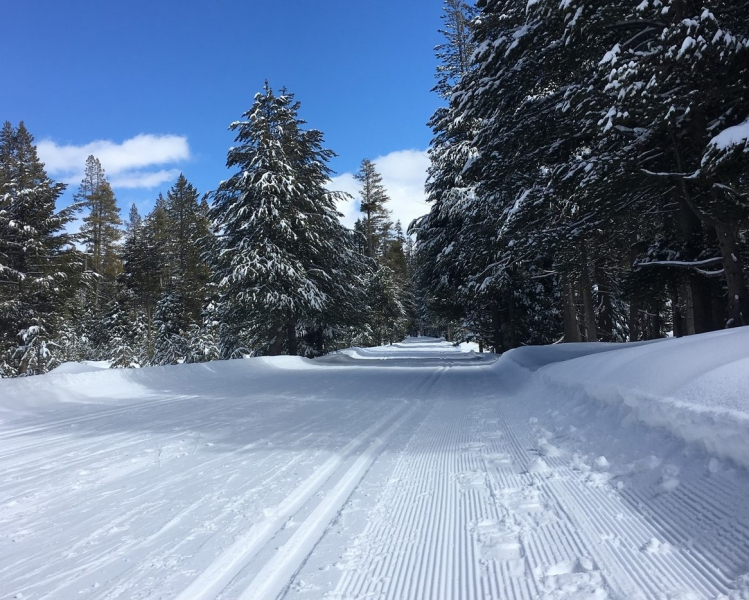
If you’re snowshoeing or hiking on Glacier Point Road, a popular destination for winter recreation, stay toward the outer edge of the road to avoid creating “post-holes” that can trip up the cross-country and skate skiers who rely on the flat, groomed snow in the middle.
Keep wildlife wild. 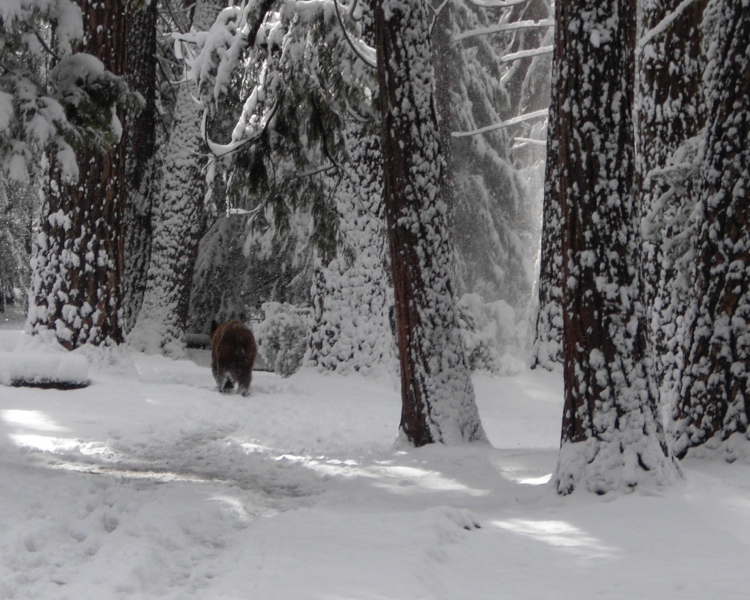 Fewer animals are active in Yosemite in winter than in warmer months, but you might catch a glimpse of American dippers in the icy Merced, bobcats sauntering in the woods, or coyotes diving in the snow in search of a meal. Bears are usually curled up in their dens, but might wake up for a wander in a warm spell.
As in any season, do your part to protect wildlife:
- Use bear-proof food lockers and canisters.
- Make sure trash cans are latched (and not overflowing).
- Do not leave food or other scented items unattended at picnic areas, campgrounds or in your car.
- Observe animals from a safe distance.
- Drive slowly on park roads.
And speaking of park roads, driving conditions in and around Yosemite can change quickly in the winter. For up-to-date information about road conditions, closures and chain requirements, call the park’s public information line: 209-372-0200 (at the prompt, press 1, 1).
To learn even more about how to limit your impact and stay safe in winter, go with a guide! Our expert naturalists lead winter day hikes and snowshoe treks – check out the calendar to find an upcoming adventure (yosemite.org/outdoor-adventures), or explore our Custom Adventures page to get ideas for a personalized trip. While you’re on the website, stop by our online bookstore to pick up some cold-weather accessories, such as our Conservancy thermos or a cozy knit beanie, so you can show your support for the park all winter long.